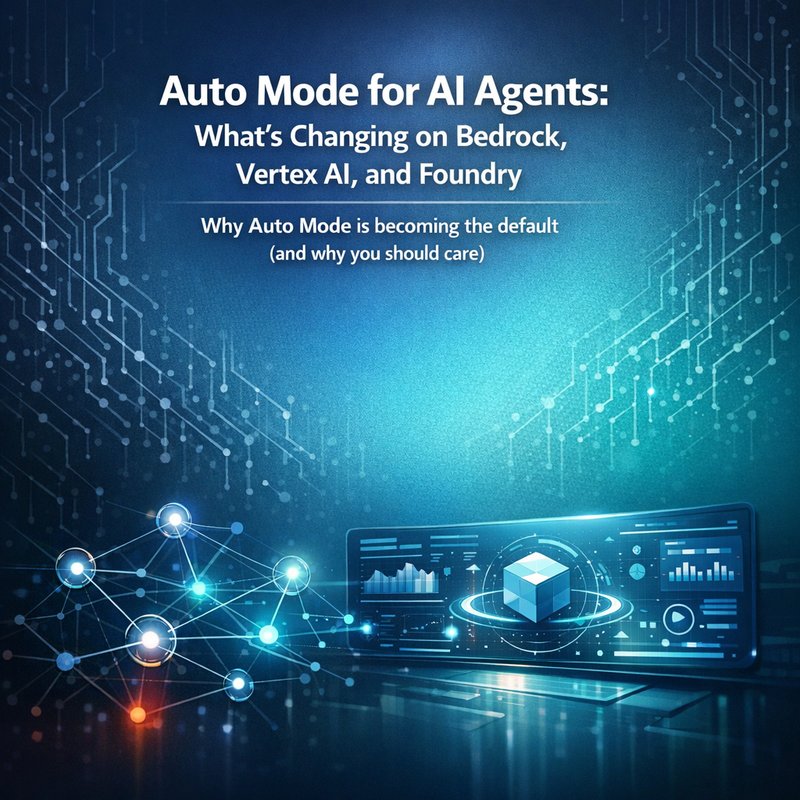
AI agents just got a lot easier to turn on. Right now, Auto Mode is becoming the default behavior for enterprise users across major platforms like Amazon Bedrock, Google Cloud Vertex AI, and Anthropic Foundry (among others).
If you work on agent apps, this Auto Mode shift matters because it changes how often the system decides to act, how tool use is triggered, and what “safe behavior” really means in production.
In this guide, I’ll explain what Auto Mode usually does, why it’s showing up as the default, and how you can run it safely without surprises. We’ll also connect this to what teams are building with agent frameworks and tool-calling workflows right now.
(Source for the Auto Mode default info: the search result pointing to Vertex AI search redirect about Auto Mode default behavior.)
https://vertexaisearch.cloud.google.com/grounding-api-redirect/AUZIYQEhQlEQe_Cxe6Q2oeV_SzdRRhRMlN0tXohNzF51i1xjLDR-ORP4qZSWNenpcxB0L74cwXqwUlw2Dp3RMJeHLQVbSFrcvCIAIg3wd7V76ozwXWS9Du051EzwzryGUt1a9jTbffs44Aa-h3-6hNz8mTg=
Why Auto Mode is becoming the default (and why you should care)
Here’s the simple version. Auto Mode is the setting where the agent system can decide when to run steps on its own, instead of waiting for you to explicitly request each action.
That sounds small. But in agent apps, “small” becomes big fast, because agent steps often include:
- calling tools (like search, code, or internal APIs)
- generating or editing content
- routing to the right sub-agent based on user intent
- deciding what to do next after a partial result
When Auto Mode becomes default, the system behavior can look different even if your app code did not change.
And lately, teams have been pushing agent workflows toward fewer “manual handoffs.”
That’s one reason why Auto Mode is getting promoted beyond “advanced option” and more into “normal mode” inside enterprise deployments.
The practical risk: you might not notice subtle behavior changes
Most production issues aren’t dramatic. They’re quiet.
You might see:
- more tool calls than before
- longer responses because the agent is trying more steps
- different output style, because the agent is making intermediate plans
- new safety checks firing later than expected
If your app assumes the model will only respond with text (and tool calls are strictly controlled by you), then Auto Mode can break that assumption.
So even if Auto Mode is “safer by design” on paper, you still have to verify behavior in your setup.
What Auto Mode usually does under the hood (in plain language)
Different platforms can implement Auto Mode differently, but most versions share a similar idea.
Auto Mode makes more decisions without asking you
In a typical agent flow, the system may:
- read the user request
- decide whether it needs tools
- decide which tool to call
- run the tool
- interpret tool results
- decide what to do next
When Auto Mode is off, you often control steps like “call tools now” or “plan only.”
When Auto Mode is on by default, the platform is more willing to pick steps automatically.
I’ll be honest, this is why Auto Mode feels faster.
But it also means you need clearer guardrails.
Auto Mode changes your testing approach
Previously, you could write tests focused on “prompt in, answer out.”
Now you also need tests focused on “steps in, steps out.”
That includes verifying:
- tool calls happen only when they should
- the tool inputs do not include secrets
- the agent does not keep retrying the same failing step
- the agent stops once the user goal is met
A lot of teams miss this and then blame the agent framework.
Usually, the real issue is that testing didn’t include the agent step behavior.
Where the Auto Mode default is showing up right now
Based on the search result you provided, Auto Mode is now the default for enterprise users on:
- Amazon Bedrock
- Google Cloud Vertex AI
- Anthropic Foundry
That matters because many companies run multi-cloud evaluation and reuse prompts across platforms.
If Auto Mode changes the default behavior for all three, then you need a single “agent behavior checklist” that you apply everywhere.
A simple checklist for production readiness with Auto Mode
Use this every time you evaluate Auto Mode changes, even if you didn’t change your app:
- Confirm whether tool calls are allowed automatically
- Confirm which tool types are allowed by policy
- Confirm the stop rules (what ends the agent run)
- Confirm logging coverage for tool calls and tool inputs
- Confirm redaction rules for secrets and tokens
- Confirm rate limits for tools, so the agent cannot spam them
- Confirm your “max steps” behavior to avoid loops
If you can’t answer those points, you’re not really ready yet.
How this connects to operator-style agents and MCP tool use
In your search results, there’s talk about agent tooling and adoption trends.
For example, one search item says Hermes Agent is being adopted as an alternative due to context compression and native MCP support, which can reduce token costs and help maintain persistent “codebase shapes” across sessions.
Another search item points to OpenClaw Release Notes for OpenClaw.
Even without going deep into each agent framework, here’s the real connection:
When platforms push Auto Mode as default, the ecosystem is moving toward agents that:
- call tools more often
- keep more “working memory” across sessions
- support standardized tool interfaces (like MCP)
So your safety and cost controls should not be built only for “text-only chat.”
They should be built for tool-based agent workflows.
MCP and tool calling means you must lock down tool permissions
If Auto Mode decides to call tools automatically, then you must ensure tool permissions are correctly scoped.
Practical examples:
- A knowledge-search tool should not be able to write data
- A code tool should not have access to production secrets
- A “content generator” should not be able to hit internal endpoints
Think of tool permissions like IAM roles.
If the agent is more autonomous, your permissions must be narrower.
Evaluating Auto Mode safely: a “two-layer” approach
A lot of teams try to solve everything at the prompt level.
That’s not enough.
Instead, use two layers:
Layer 1: Platform and policy constraints
This is where Auto Mode is implemented or configured at the platform level.
You want to confirm:

- which behaviors Auto Mode can trigger
- what tool calling is allowed
- what gets blocked
- how the platform logs actions
Layer 2: App-level validation and redaction
In your app, add checks that happen before any tool call and before any output goes to a user.
To keep it simple, implement:
- tool input validation (shape and allowed fields)
- secret redaction (remove API keys, tokens, cookies)
- output filtering (block sensitive content patterns)
- step caps (max tool calls and max reasoning steps, where supported)
The key idea: even if Auto Mode acts, your app still says “no” when needed.
A real testing plan for Auto Mode (that teams can actually run)
If you’re trying to take this seriously, you want tests that are repeatable.
Here’s a practical plan you can copy.
1) Create a test set of “intent types”
Don’t just test one prompt. Group requests into types like:
- “Need a fact, then answer”
- “Need to browse and summarize”
- “Need tool calls to compute something”
- “Need to draft content, but don’t call tools”
- “Refuse if it asks for secrets”
- “Handle ambiguous requests by asking clarifying questions”
2) Run tests with Auto Mode enabled and disabled (side by side)
Even though Auto Mode is becoming default, you may still be able to compare behavior.
Compare things like:
- tool call count and types
- time to final answer
- whether it loops on ambiguous instructions
- whether it asks clarifying questions correctly
3) Add “tool-call assertions”
For each test case, define what tool calls are allowed.
Example assertions:
- “For this intent, the agent should not call the write API.”
- “For this fact request, search tool is required.”
- “For these prompts, redaction must remove keys from logs.”
4) Review failures like a production incident
When a failure happens, don’t just tweak the prompt.
Instead ask:
- Did Auto Mode trigger the wrong step?
- Did policy allow too much?
- Did your app validation block it too late?
- Did logging miss the tool call inputs?
This helps you improve the right layer.
Common Auto Mode surprises (and what to do about them)
Let’s cover issues you’ll likely see when Auto Mode is defaulted.
Surprise 1: More tool calls than you expected
When Auto Mode is active, the system may choose tools earlier.
Fix:
- add tool permissions limits
- add app-level tool input validation
- reduce allowed tool options if you only need one
Surprise 2: Longer outputs or extra steps
Sometimes the agent “thinks it should do more.”
Fix:
- enforce “max steps” or “stop conditions”
- create clear success criteria for tasks
- require clarifying questions when user input is missing
Surprise 3: Safety behavior looks inconsistent
If safety checks run after tool calls, you might see partial tool usage first.
Fix:
- validate tool-call inputs before tool runs
- redact secrets before tool inputs are sent
- confirm platform safety order in your environment
How teams are thinking about reliability right now
Your search results also mention a few agent and evaluation themes.
For example:
- OpenClaw release notes can show how tool-call behavior is being fixed and improved.
- Trulens updates mention improvements like schema validation and parallel batch evals.
- There’s also coverage about enterprise autonomous workers, like Harness announcing autonomous worker agents.
Even if you don’t adopt the exact same tools, these signals point to a trend:
Teams want agent systems that are easier to evaluate, more repeatable, and less likely to break under edge cases.
When Auto Mode becomes default, those evaluation improvements become more important, not less.
Where this leaves you: what to do this week
If your organization is using enterprise models on Bedrock, Vertex AI, or Foundry, and Auto Mode is now default, then you probably have one action item: verify behavior.
Here’s a short “this week” plan.
- Identify which agent flows use Auto Mode
- Turn on detailed logs for tool calls and tool inputs
- Run an evaluation test set (not one prompt)
- Add redaction and validation in your app layer
- Tighten tool permissions and stop rules
And if you want a place to start building agent workflows with guardrails, you can explore Neura’s agent tooling overview here:
https://meetneura.ai/products
If you want to connect it to broader team execution, you can also look at the product ecosystem landing page:
https://meetneura.ai
(And if you’re studying how AI agents perform in real work settings, the case studies page is a good reference point: https://blog.meetneura.ai/#case-studies )
Conclusion: Auto Mode is not “just a setting.” It’s a behavior change
Auto Mode is going default across major enterprise model platforms. That’s a big deal because it can change how often your agent decides to act, when it calls tools, and how it handles ambiguous requests.
The good news is you can handle it. Treat Auto Mode like a production change:
- verify tool call behavior
- add app-level validation and redaction
- set stop rules and step caps
- test intent types, not just one prompt
Once you do that, Auto Mode can actually make your agent faster and more useful, without losing control.