TinyML is the newest wave of machine learning that runs directly on tiny, low‑power devices.
It lets you put smart intelligence into everyday sensors, wearables, and industrial equipment without sending data to the cloud.
In this guide we’ll walk through what TinyML is, why it matters, and how you can build a TinyML project from scratch.
We’ll cover the hardware, software, and best practices that make it possible to run a neural network on a microcontroller that fits in your pocket.
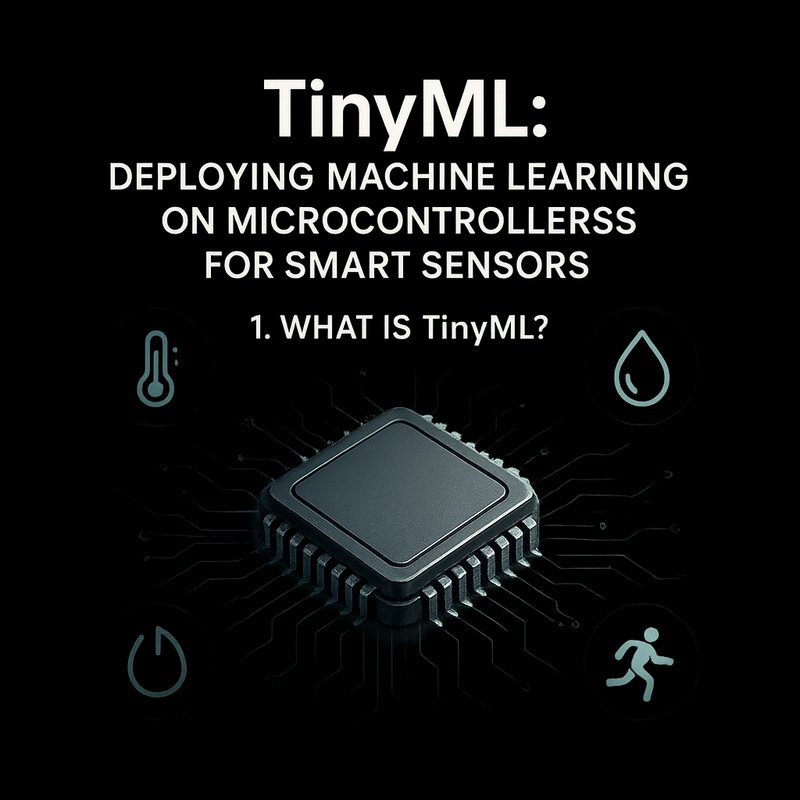
1. What Is TinyML?
TinyML is a subset of edge AI that focuses on tiny devices—microcontrollers, low‑power SoCs, and embedded systems.
Unlike traditional machine learning that runs on GPUs or cloud servers, TinyML runs on chips with a few megabytes of memory and a few megahertz of CPU.
The goal is to keep data local, reduce latency, and save power.
Key differences from other edge AI approaches:
| Feature | TinyML | Edge AI (PC/Server) |
|---|---|---|
| Hardware | 8‑bit/32‑bit microcontrollers | CPUs/GPUs |
| Memory | < 1 MB RAM | > 8 GB |
| Power | < 100 mW | > 100 W |
| Latency | < 10 ms | > 100 ms |
| Use‑case | Sensors, wearables, IoT | Desktop, cloud |
TinyML is perfect for scenarios where you need instant decisions, low cost, and no network connectivity.
2. Why TinyML Matters
- Privacy – Data never leaves the device, so you avoid GDPR or CCPA concerns.
- Reliability – No network required, so the system keeps working in remote or offline locations.
- Cost – Microcontrollers are cheap; you can deploy thousands of units for a few dollars each.
- Energy – Battery‑powered devices can run for months on a single charge.
These benefits open up new product ideas: smart thermostats that learn user habits, wearable health monitors that detect arrhythmias, or industrial sensors that predict equipment failure.
3. Core Components of a TinyML Project
| Component | Role | Example |
|---|---|---|
| Data Capture | Collect sensor data | Arduino, Raspberry Pi Pico |
| Training | Build a model on a PC | TensorFlow, PyTorch |
| Quantization | Reduce model size | TensorFlow Lite Micro |
| Deployment | Flash the model to MCU | Arduino IDE, PlatformIO |
| Runtime | Execute inference on MCU | CMSIS‑NN, TensorFlow Lite Micro |
Each step can be done with open‑source tools or commercial services.
Below we’ll dive into each component with concrete commands and code snippets.
4. Choosing the Right Hardware
| Microcontroller | Flash | RAM | Typical Use |
|---|---|---|---|
| ESP32‑S3 | 4 MB | 512 KB | Wi‑Fi + BLE IoT |
| STM32F746 | 1 MB | 384 KB | Industrial sensors |
| Arduino Nano 33 BLE | 1 MB | 256 KB | Wearables |
| Raspberry Pi Pico | 2 MB | 264 KB | DIY projects |
Pick a board that matches your power budget and connectivity needs.
For beginners, the Arduino Nano 33 BLE is a great starting point because it has built‑in BLE and a friendly IDE.
5. Software Stack Overview
- TensorFlow Lite Micro – The most popular runtime for microcontrollers.
- Edge Impulse – A cloud platform that handles data labeling, training, and deployment.
- CMSIS‑NN – ARM’s optimized neural network library for Cortex‑M cores.
- Arduino ML – A library that wraps TensorFlow Lite Micro for Arduino boards.
You can mix and match these tools. For example, train a model in TensorFlow, quantize it, then load it into the Arduino IDE.
6. Step‑by‑Step Tutorial: Voice Activity Detection on ESP32‑S3
We’ll build a tiny model that detects when a user is speaking.
The model will run on an ESP32‑S3 and trigger an LED when voice is detected.
6.1 Gather Data
- Record 5‑second audio clips of speech and silence.
- Use a 16 kHz sample rate and 16‑bit depth.
- Store files in a folder called
data/.
mkdir data
# Record speech
arecord -D plughw:1,0 -f S16_LE -r 16000 -d 5 -t wav speech.wav
# Record silence
arecord -D plughw:1,0 -f S16_LE -r 16000 -d 5 -t wav silence.wav
6.2 Pre‑process
Convert WAV to raw PCM and extract Mel‑frequency cepstral coefficients (MFCCs).
import librosa
import numpy as np
import os

def extract_mfcc(file_path):
    y, sr = librosa.load(file_path, sr=16000)
    mfcc = librosa.feature.mfcc(y=y, sr=sr, n_mfcc=13)
    return mfcc.T  # shape: (time, 13)

for label in ['speech', 'silence']:
    for file in os.listdir(f'data/{label}'):
        mfcc = extract_mfcc(f'data/{label}/{file}')
        np.save(f'data/{label}/{file}.npy', mfcc)
6.3 Train a Small CNN
import tensorflow as tf
import numpy as np
import os
def load_dataset():
X, y = [], []
for label, idx in [('speech', 1), ('silence', 0)]:
for file in os.listdir(f'data/{label}'):
mfcc = np.load(f'data/{label}/{file}.npy')
X.append(mfcc)
y.append(idx)
return np.array(X), np.array(y)
X, y = load_dataset()
X = X[..., np.newaxis] # add channel dimension

model = tf.keras.Sequential([
tf.keras.layers.Conv2D(8, (3,3), activation='relu', input_shape=X.shape[1:]),
tf.keras.layers.MaxPooling2D((2,2)),
tf.keras.layers.Flatten(),
tf.keras.layers.Dense(16, activation='relu'),
tf.keras.layers.Dense(1, activation='sigmoid')
])
model.compile(optimizer='adam', loss='binary_crossentropy', metrics=['accuracy'])
model.fit(X, y, epochs=10, batch_size=4)
model.save('voice_activity.tflite')
6.4 Quantize for Microcontrollers
tflite_convert \
  --saved_model_dir=voice_activity.tflite \
  --output_file=voice_activity_quant.tflite \
  --post_training_quantize
6.5 Deploy to ESP32‑S3
- Install Arduino IDE and ESP32 board package.
- Add TensorFlow Lite Micro library via Library Manager.
- Copy the quantized model to the sketch folder.
#include "TensorFlowLite.h"
#include "tensorflow/lite/micro/all_ops_resolver.h"
#include "tensorflow/lite/micro/micro_interpreter.h"
#include "tensorflow/lite/schema/schema_generated.h"
#include "tensorflow/lite/version.h"

extern const unsigned char voice_activity_quant_tflite[];
extern const int voice_activity_quant_tflite_len;

const int kTensorArenaSize = 2 * 1024;
uint8_t tensor_arena[kTensorArenaSize];

void setup() {
  Serial.begin(115200);
  pinMode(LED_BUILTIN, OUTPUT);
  // Load model
  const tflite::Model* model = tflite::GetModel(voice_activity_quant_tflite);
  static tflite::AllOpsResolver resolver;
  static tflite::MicroInterpreter interpreter(
      model, resolver, tensor_arena, kTensorArenaSize);
  interpreter.AllocateTensors();
}

void loop() {
  // Read microphone, convert to MFCC, fill input tensor
  // (omitted for brevity)
  interpreter.Invoke();
  float* output = interpreter.output(0)->data.f;
  if (output[0] > 0.5) {
    digitalWrite(LED_BUILTIN, HIGH);
  } else {
    digitalWrite(LED_BUILTIN, LOW);
  }
  delay(100);
}
Upload the sketch, and the LED will blink whenever the ESP32 hears speech.
7. Performance Tips
| Issue | Fix |
|---|---|
| Memory overflow | Use uint8_t quantization, reduce input size |
| Long latency | Reduce number of layers, use depthwise separable convs |
| High power | Put MCU in deep sleep between inferences |
| Model drift | Periodically retrain with new data, use OTA updates |
Always profile your model on the target hardware.
The TensorFlow Lite Micro profiler can show you how many cycles each operation takes.
8. Security and Privacy
TinyML devices often sit in the field.
Secure boot ensures only signed firmware runs.
Encrypt OTA updates with AES‑128.
Use secure enclaves on ARM Cortex‑M33 for key storage.
9. Real‑World Use Cases
| Domain | TinyML Application | Benefit |
|---|---|---|
| Agriculture | Soil moisture prediction | Reduce water usage |
| Healthcare | Fall detection in wearables | Early emergency response |
| Manufacturing | Vibration analysis for predictive maintenance | Cut downtime |
| Smart Home | Voice‑controlled lighting | Energy savings |
| Transportation | Tire pressure monitoring | Safety improvement |
These examples show how TinyML can add intelligence without cloud dependence.
10. Future Trends
- Neuromorphic chips – Devices that mimic brain‑like spiking neurons, promising ultra‑low power.
- 5G edge – Combining TinyML with low‑latency 5G for real‑time analytics.
- Federated TinyML – Devices collaboratively train models while keeping data local.
- AI‑optimized microcontrollers – New SoCs with built‑in neural network accelerators.
Staying current with these trends will keep your TinyML projects competitive.
11. Resources and Community
- Edge Impulse – End‑to‑end platform for TinyML.
- Arduino ML – Library for running TensorFlow Lite Micro on Arduino boards.
- TensorFlow Lite Micro – Official runtime.
- CMSIS‑NN – ARM’s optimized library.
- Neura AI – Explore how our AI‑powered RDA agents can help automate data capture and model training.
Visit https://meetneura.ai for more tools.
12. Conclusion
TinyML turns tiny, low‑power devices into smart sensors that can make decisions on the fly.
By combining the right hardware, a lightweight runtime, and careful model design, you can build applications that are private, reliable, and cost‑effective.
Whether you’re a hobbyist or a product engineer, TinyML offers a path to embed intelligence everywhere.
Ready to start your TinyML journey? Grab an ESP32‑S3, follow the tutorial, and watch your sensor become a smart assistant.