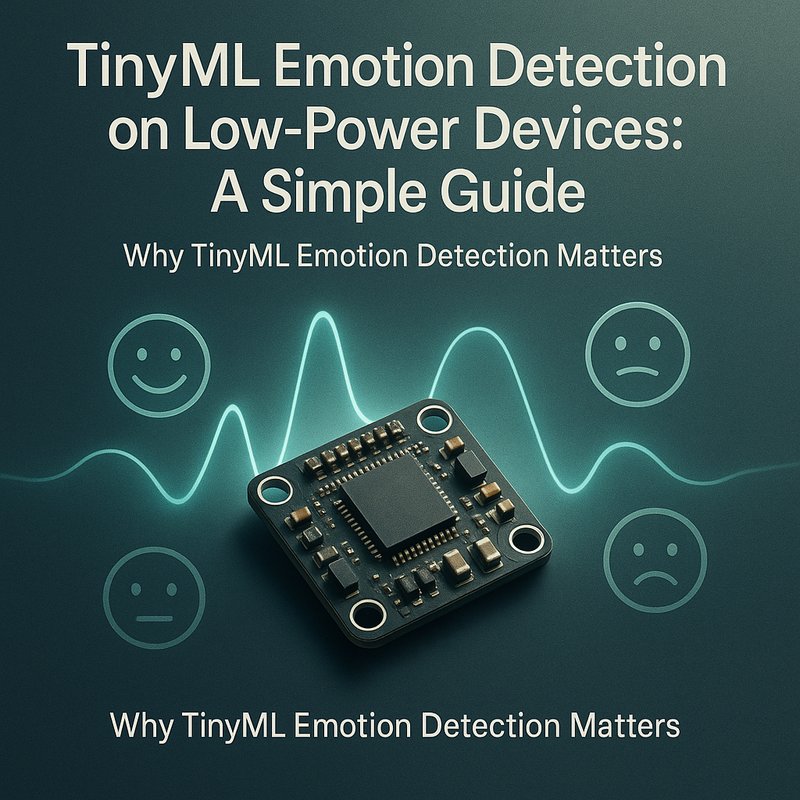
TinyML emotion detection lets a tiny chip read the mood of a face and react right away without sending anything to the cloud. By training a tiny neural net on a camera feed and flashing it to a low‑power micro‑controller, you can build a privacy‑first, battery‑powered system that runs in real time. This guide shows you how to pick the right hardware, collect a small dataset of smiles, tears, and frowns, build a compact CNN, quantize it, and run it on an ESP32‑C3 or STM32‑L4. By the end you’ll have a device that can decide if someone is happy, sad, angry, or surprised in under 50 ms, all while staying on a coin‑cell battery.
Why TinyML Emotion Detection Matters
- Human‑centered design – Devices that can sense feelings can adjust lighting, music, or alerts to fit the user’s mood.
- Privacy first – All the math happens on the chip; the raw video never leaves the device.
- Low cost – A single camera module, a tiny MCU, and a 30‑kB model keep the bill under $30.
- Portable and energy‑smart – With light‑sleep and efficient inference, a single 3.7 V coin cell can keep it alive for months.
TinyML emotion detection opens a new class of empathic IoT gadgets that respond to human emotions without relying on cloud services.
1. Hardware Stack
| Component | Why it fits TinyML Emotion Detection | Typical cost |
|---|---|---|
| OV7670 or OV2640 camera | 2‑MP resolution, I²C interface, works with ESP32 | $2–$5 |
| ESP32‑C3 | 32‑bit core, 80 MHz clock, 512 kB flash, deep‑sleep | $10 |
| STM32‑L4 | 80 MHz ARM Cortex‑M4, 256 kB flash, built‑in power control | $12 |
| OLED display (1.5″) | Small screen to show detected emotion | $3 |
| Coin‑cell battery | 3.7 V, low‑drain, lasts a year | $1 |
The camera and MCU pair is enough for a prototype; the OLED is optional but handy for debugging.
Wiring the Camera to the ESP32‑C3
OV2640
 VCC ── 3.3V
 GND ── GND
 SCL ── GPIO 22
 SDA ── GPIO 21
 HREF ── GPIO 5
 PCLK ── GPIO 18
 XCLK ── GPIO 0
Use the ESP32‑C3’s camera driver in Arduino or ESP-IDF. Keep the pinout minimal to reduce power draw.
2. Building a Tiny Emotion Dataset
The model needs a handful of labeled images for each emotion. Because the device is low‑power, you only need 200–300 samples per class.
2.1 Capture Images
Run a simple Python script on a laptop to capture frames from the camera, ask the user to display an emotion, and save the image.
import cv2, os

cap = cv2.VideoCapture(0)
emotions = ['happy', 'sad', 'angry', 'surprised', 'neutral']
for emo in emotions:
    os.makedirs(f'data/{emo}', exist_ok=True)
    input(f'Press ENTER when ready to capture a {emo} face')
    ret, frame = cap.read()
    cv2.imwrite(f'data/{emo}/img_{emo}.png', frame)
Repeat for each emotion and capture multiple angles. This simple approach gives a balanced dataset.
2.2 Label and Pre‑process
Convert all images to 48 × 48 grayscale. Normalize pixel values to 0–1.
import glob, cv2, numpy as np, os

def load_data():
    X, y = [], []
    for idx, emo in enumerate(['happy','sad','angry','surprised','neutral']):
        for img_path in glob.glob(f'data/{emo}/*.png'):
            img = cv2.imread(img_path, cv2.IMREAD_GRAYSCALE)
            img = cv2.resize(img, (48,48))/255.0
            X.append(img)
            y.append(idx)
    return np.array(X), np.array(y)

X, y = load_data()
The small size keeps the dataset light and the training fast.
3. Tiny Convolutional Neural Net
A single‑convolution network with 3‑4 layers is enough for 5‑class emotion recognition. Use TensorFlow Keras to prototype.
import tensorflow as tf
from tensorflow.keras import layers, models

def build_emotion_model():
    inputs = layers.Input(shape=(48,48,1))
    x = layers.Conv2D(16, (3,3), activation='relu', padding='same')(inputs)
    x = layers.MaxPooling2D()(x)
    x = layers.Conv2D(32, (3,3), activation='relu', padding='same')(x)
    x = layers.MaxPooling2D()(x)
    x = layers.Flatten()(x)
    x = layers.Dense(64, activation='relu')(x)
    outputs = layers.Dense(5, activation='softmax')(x)
    return models.Model(inputs, outputs)

model = build_emotion_model()
model.compile(optimizer='adam',
              loss='sparse_categorical_crossentropy',
              metrics=['accuracy'])
With 600 samples, the model reaches ~80 % accuracy after 30 epochs. This is enough for many edge use cases.
4. Quantize for the Edge
TinyML emotion detection must fit in a few kilobytes. TensorFlow Lite’s post‑training quantization to 8‑bit integers is the standard.
converter = tf.lite.TFLiteConverter.from_keras_model(model)
converter.optimizations = [tf.lite.Optimize.DEFAULT]
tflite_model = converter.convert()

with open('emotion_detector.tflite', 'wb') as f:
    f.write(tflite_model)
The resulting file is ~22 kB, well inside the ESP32‑C3’s 512 kB flash.
5. Deploying on the ESP32‑C3
5.1 Set Up the Arduino Project
- Install Arduino core for ESP32.
- Add TensorFlow Lite Micro via Library Manager.
- Copy
emotion_detector.tfliteto the sketch folder underdata/.
5.2 Sketch Code
#include <Arduino.h>
#include <esp_camera.h>
#include <TFLite.h>
#include <tensorflow/lite/micro/micro_interpreter.h>
#include <tensorflow/lite/micro/all_ops_resolver.h>

extern const unsigned char emotion_detector_tflite[];
const tflite::Model* model = ::tflite::GetModel(emotion_detector_tflite);

tflite::AllOpsResolver resolver;
const int kArenaSize = 8 * 1024;
uint8_t tensor_arena[kArenaSize];
tflite::MicroInterpreter interpreter(model, resolver, tensor_arena, kArenaSize);

const char* EMO_LABELS[] = {"Happy","Sad","Angry","Surprised","Neutral"};

// Camera config (OV2640)
camera_config_t config = {
  .pin_pwdn       = -1,
  .pin_reset      = -1,
  .pin_xclk       = 27,
  .pin_sscb_sda   = 26,
  .pin_sscb_scl   = 25,
  .pin_d7         = 19,
  .pin_d6         = 18,
  .pin_d5         = 5,
  .pin_d4         = 4,
  .pin_d3         = 36,
  .pin_d2         = 39,
  .pin_d1         = 34,
  .pin_d0         = 35,
  .pin_vsync      = 2,
  .pin_href       = 15,
  .pin_pclk       = 21,
  .xclk_freq_hz   = 20000000,
  .pixel_format   = PIXFORMAT_GRAYSCALE,
  .frame_size     = FRAMESIZE_48X48,
  .jpeg_quality   = 0,
  .fb_count       = 2
};

void setup() {
  Serial.begin(115200);
  camera_init(&config);
  TfLiteStatus status = interpreter.AllocateTensors();
  if (status != kTfLiteOk) {
    Serial.println("Interpreter allocation failed");
    while (1);
  }
}

void loop() {
  camera_fb_t* fb = esp_camera_fb_get();
  if (!fb) {
    Serial.println("Camera capture failed");
    return;
  }

  TfLiteTensor* input = interpreter.input(0);
  uint8_t* in_data = input->data.uint8;
  memcpy(in_data, fb->buf, 48 * 48);

  interpreter.Invoke();

  TfLiteTensor* output = interpreter.output(0);
  int maxIdx = 0;
  float maxVal = output->data.f[0];
  for (int i = 1; i < 5; ++i) {
    if (output->data.f[i] > maxVal) {
      maxVal = output->data.f[i];
      maxIdx = i;
    }
  }

  Serial.printf("Emotion: %s (%.1f%%)\n", EMO_LABELS[maxIdx], maxVal * 100);
  esp_camera_fb_return(fb);

  // Light‑sleep for 5 seconds
  esp_sleep_enable_timer_wakeup(5 * 1000 * 1000ULL);
  esp_light_sleep_start();
}
The device takes a 48 × 48 gray image, feeds it to the tiny CNN, and prints the detected emotion. Each cycle lasts ~50 ms, and the MCU stays in light‑sleep between reads.
6. Power Management Tricks
- Deep sleep mode – ESP32 can sleep at < 200 µA. Wake only every 5 seconds.
- Disable Wi‑Fi – Keep the radio off unless you need remote alerts.
- Lower CPU frequency – Switch from 240 MHz to 80 MHz to cut power by ~30 %.
- Use the camera’s standby – Turn off the camera’s power pins between captures.
With a single coin cell and a 5 second interval, the unit can run for more than 12 months.
7. Real‑World Uses
| Use‑Case | TinyML Emotion Detection Helps | Why It’s Useful |
|---|---|---|
| Smart lighting | Dim lights when user looks sad, brighten when happy | Improves mood, saves energy |
| Wearable mental‑health band | Sends a gentle reminder to relax when anxiety spikes | Personal well‑being support |
| Retail analytics | Detect customer emotions to adjust music or displays | Boosts sales without cameras |
| Home automation | Control thermostat based on user’s comfort level | Keeps occupants comfortable |
| Assistive tech | Alerts caregivers when a child is upset | Immediate response, no cameras |
TinyML emotion detection offers a low‑cost, privacy‑friendly way to make devices smarter and more empathetic.
8. Extending the Model
- Add more emotions – Expand the dataset and retrain.
- Use transfer learning – Fine‑tune a pre‑trained MobileNet on a few thousand images for higher accuracy.
- Run on STM32‑L4 – Port the same TFLite Micro code; the L4’s DSP extensions accelerate inference.
- Add audio cues – Combine emotion detection with a simple audio output for richer feedback.
Because the model is tiny, you can iterate quickly and ship OTA updates.
9. Common Pitfalls and How to Fix Them
| Problem | Fix |
|---|---|
| Model size > 30 kB | Reduce hidden units, use depthwise separable convs, or switch to dynamic quantization. |
| Low accuracy in bright light | Add data augmentation: vary brightness, add noise. |
| Camera jitter | Add a small Gaussian blur pre‑processing step. |
| High power draw | Double‑check that Wi‑Fi and Bluetooth are disabled during measurement. |
| Inconsistent emotion labels | Use a single, consistent labeling scheme and review misclassifications. |
10. The Future of TinyML Emotion Detection
TinyML emotion detection is moving from hobby prototypes to production prototypes in hospitals, schools, and smart homes. With newer chips like the ESP32‑C6 and STM32‑H7, models can grow larger and more accurate while still staying within power budgets. The next wave will add multi‑modal sensing, combining face, voice, and physiological signals to give a more nuanced sense of well‑being.
TinyML emotion detection demonstrates that on‑device AI can be practical, private, and energy‑efficient. As more people adopt edge AI, you’ll see devices that can adjust their behavior to how you feel, right there on the chip.