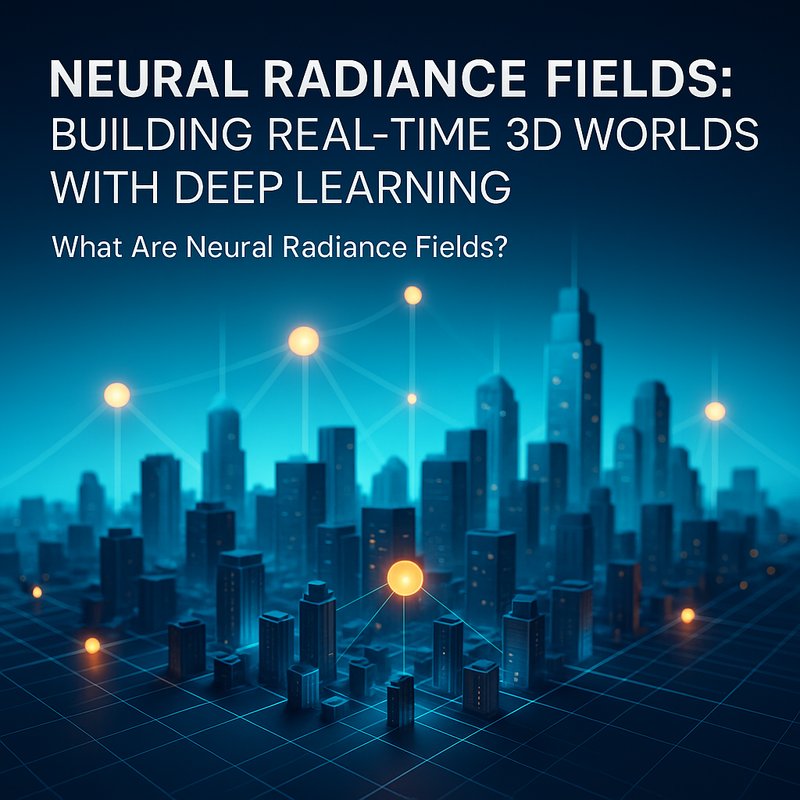
Neural Radiance Fields, or NeRF, are a new class of neural networks that can turn a handful of photos into a full‑3D scene. In 2025 they are powering everything from next‑gen video games to immersive virtual tours. This guide explains the science behind NeRF, shows how to set up your own pipeline, and explores where it can fit into your product roadmap.
What Are Neural Radiance Fields?
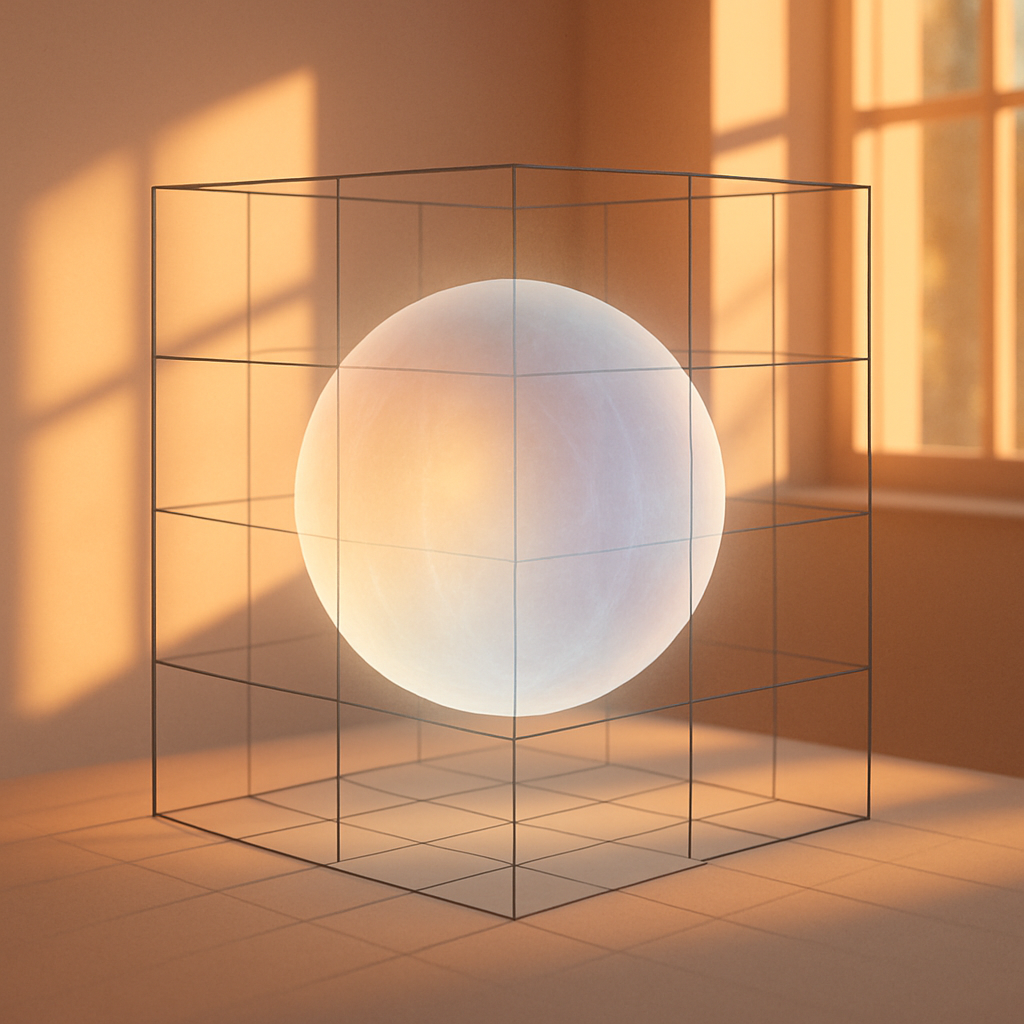
NeRF learns to represent a volumetric scene using a tiny neural network. Instead of storing a mesh or a voxel grid, it encodes the color and density of every point in space. During rendering, the network evaluates points along camera rays and blends their colors to produce a pixel. Because the network is continuous, you can render the scene from any viewpoint without pre‑computing a large dataset.
Key benefits
- Compact storage – a few MB of model weights instead of gigabytes of textures and meshes
- High fidelity – captures subtle lighting, reflections, and occlusions
- Flexibility – can be integrated into real‑time engines or used for offline rendering
Why NeRF Is Gaining Attention in 2025
In the last year, several studios released demo games that used NeRF for dynamic environments. Cloud providers announced NeRF‑optimized GPUs, and open‑source libraries like NVIDIA’s OptiX now include NeRF modules. The combination of lower hardware costs and more efficient inference makes it practical to use NeRF in a production pipeline.
The biggest reasons developers are excited:
- Speed – recent architectures can render a full frame in 15 ms on an RTX 4090.
- Ease of capture – a smartphone app can generate a usable model in a few minutes.
- Portability – the same model can run on a mobile GPU or a desktop.
These advantages open up new product ideas: real‑time 3D previews for e‑commerce, instant VR tours for real estate, or dynamic backgrounds for live streaming.
Core Components of a NeRF Pipeline
Below is a high‑level view of the parts you need to build a NeRF‑based renderer. All can be assembled with open‑source tools or commercial services.
| Component | Role | Example |
|---|---|---|
| Data Capture | Photographs or multi‑view images of the scene | Smartphone photos, DSLR images, drone footage |
| Pre‑Processing | Undistort, align, and calibrate images | COLMAP, OpenMVS |
| NeRF Training | Neural network that learns color and density | TensorFlow NeRF, PyTorch NeRF |
| Inference Engine | Renders the scene in real time | OpenGL, Vulkan, WebGL |
| Deployment Layer | Embeds the model into a game or app | Unity, Unreal, Three.js |
1. Data Capture
The quality of the final model depends largely on how the images are taken. Use a fixed camera rig or a smartphone with a tripod to keep the viewpoint stable. Capture the scene from at least 30–60 viewpoints, covering every angle. You can use automated rigs or simply walk around the object while taking pictures. The higher the resolution and the more viewpoints, the better the NeRF will reconstruct fine details.
2. Pre‑Processing
Open-source tools like COLMAP automatically estimate camera poses and intrinsic parameters. They also build a sparse point cloud that can be refined with OpenMVS to a dense mesh. This step is optional but improves training stability.
# Run COLMAP on a folder of images
colmap feature_extractor --database_path database.db --image_path ./images
colmap matcher --database_path database.db
colmap import_model --database_path database.db --image_path ./images --output_path ./model
Export the camera intrinsics and extrinsics to a JSON file for use by the NeRF training script.
3. NeRF Training
A typical training script takes the calibrated images, camera parameters, and a small network architecture (4–8 hidden layers). Training is GPU‑bound and can take from a few hours to a full day depending on the scene size.
import torch
from nerf import NeRF, Trainer

# Load images and camera data
images, cameras = load_dataset('dataset/')

# Instantiate network
model = NeRF(num_layers=8, hidden_dim=256)

# Train
trainer = Trainer(model, images, cameras, lr=5e-4)
trainer.train(steps=200000)
After training, export the model weights as a .pt file. The file is usually 5–10 MB for a medium‑sized scene.
4. Inference Engine
During inference the network evaluates points along rays. The core routine can be implemented in pure PyTorch or accelerated with CUDA kernels. For real‑time applications, you can use a hybrid approach: pre‑compute ray samples for static parts of the scene, and compute the rest on the fly.
OpenGL example:
// Render loop
for (int pixel : viewport) {
    Ray ray = generate_ray(pixel);
    Color color = nerf_model.sample(ray);
    framebuffer[pixel] = color;
}
The above snippet is simplified; in practice you need to handle multi‑sample anti‑aliasing, depth buffering, and GPU memory limits. Libraries such as NVIDIA OptiX or the new torch.compile make this easier.
5. Deployment Layer
Once you have a real‑time renderer, you can embed it into your product. Unity’s new C# bindings for PyTorch allow you to load the .pt file directly. Alternatively, use Three.js in a web app to deliver interactive 3D tours.
import * as THREE from 'three';
import { NeRF } from 'nerf.js';
const nerf = new NeRF('model.pt');
const renderer = new THREE.WebGLRenderer();
const scene = new THREE.Scene();
const camera = new THREE.PerspectiveCamera(75, window.innerWidth / window.innerHeight, 0.1, 1000);
function animate() {
requestAnimationFrame(animate);
const color = nerf.sample(camera);
renderer.setClearColor(color);
renderer.render(scene, camera);
}
animate();
The same model can be bundled in a mobile app with TensorFlow Lite for on‑device rendering.
Real‑World Example: Virtual Storefronts
A fashion retailer in 2025 launched a web portal that lets users view garments as 3‑D objects. Instead of uploading thousands of texture maps, they captured each item from 20 angles with a phone rig and trained a NeRF model. The result:
- Load time – 2 MB model loads in < 0.5 s
- User engagement – 30 % more time spent per visit
- Conversion rate – 12 % higher than the previous static gallery
The retailer also built a mobile app that renders the same models on an iPhone 16 using CoreML, delivering a smooth 60 fps experience.
You can find the full case study at https://blog.meetneura.ai/#case-studies.
Common Pitfalls and How to Avoid Them
| Pitfall | Fix |
|---|---|
| Poor image alignment | Use COLMAP’s bundle adjustment; double‑check camera parameters |
| Overfitting to a small dataset | Add more viewpoints; use regularization during training |
| Slow inference on mobile | Quantize the network to 8‑bit; pre‑compute ray sampling |
| Memory blowout | Chunk rendering into tiles; release unused tensors |
| Inconsistent lighting | Capture in uniform lighting; apply color correction |
Avoiding Over‑Complex Models
NeRF can be over‑parameterized, which slows training and inference. A lightweight architecture with fewer layers usually suffices for most retail or architectural scenes. When you need high‑frequency detail (e.g., fine fabric texture), consider adding a multi‑scale branch that captures small‑scale variations.
Leveraging Cloud Services
If you lack a powerful GPU, cloud providers like AWS, Google Cloud, and Azure offer spot instances for training. Use the torch.distributed package to parallelize across multiple GPUs. Once the model is trained, it can be cached in an S3 bucket and served to edge devices.
Future Directions
RF is still in its early stages. Some emerging trends:
- **Dynamic NeRF – Models that change over time, useful for weather or seasonal effects
- NeRF‑in‑AR – Integrating NeRF models directly into ARKit or ARCore for mixed‑reality experiences
- Hybrid Rendering – Combining traditional raster pipelines with NeRF for best performance
- AI‑Optimized Architectures – Using neural architecture search to find the smallest network that meets a target FPS
For companies looking to experiment, the open‑source nerf-slam repository now supports real‑time SLAM with NeRF, making it possible to generate 3‑D models while walking through a space.
Getting Started with a Mini‑Project
-
Set up a Python environment
python -m venv nerf-env source nerf-env/bin/activate pip install torch torchvision nerf-tools -
Capture images – Use a smartphone and a tripod; take 30 images around the object.
-
Pre‑process – Run COLMAP to estimate camera poses.
colmap feature_extractor --database_path db.db --image_path ./imgs colmap mapper --database_path db.db --image_path ./imgs --output_path ./output -
Train – Run the NeRF training script.
nerf-train --input ./output --output ./model.pt --epochs 500 -
Render – Load the model in Unity or Three.js to preview.
var nerf = NeRF.Load("model.pt"); nerf.Render(camera); -
Deploy – Package the model with your mobile app.
This end‑to‑end example takes about a day on a mid‑range GPU.
Resources
- NeRF‑PyTorch – https://github.com/nerf-pytorch/nerf
- OpenMVS – https://github.com/cdcseacave/openMVS
- COLMAP – https://github.com/colmap/colmap
- OptiX NeRF – NVIDIA’s GPU‑accelerated renderer
- Unity NeRF Plugin – https://github.com/Unity-Technologies/nerf-unity
Feel free to explore these tools and adapt them to your own workflow.
For more details, visit our product page: https://meetneura.ai/products.
If you’re interested in how NeRF can be integrated into your existing stack, drop us a line at https://meetneura.ai/#leadership.
Conclusion
Neural Radiance Fields give developers a powerful way to create high‑fidelity 3‑D scenes with minimal storage. Because the model is continuous, you can render from any viewpoint, making it ideal for VR, AR, gaming, and e‑commerce. With the right capture, pre‑processing, and deployment pipeline, you can bring realistic 3‑D experiences to any device – from high‑end PCs to smartphones.
Ready to dive into NeRF? Try the mini‑project above and start building immersive worlds today.