Detecting sounds like a baby’s cry, a doorbell, or a siren right on a tiny device is no longer science‑fiction.
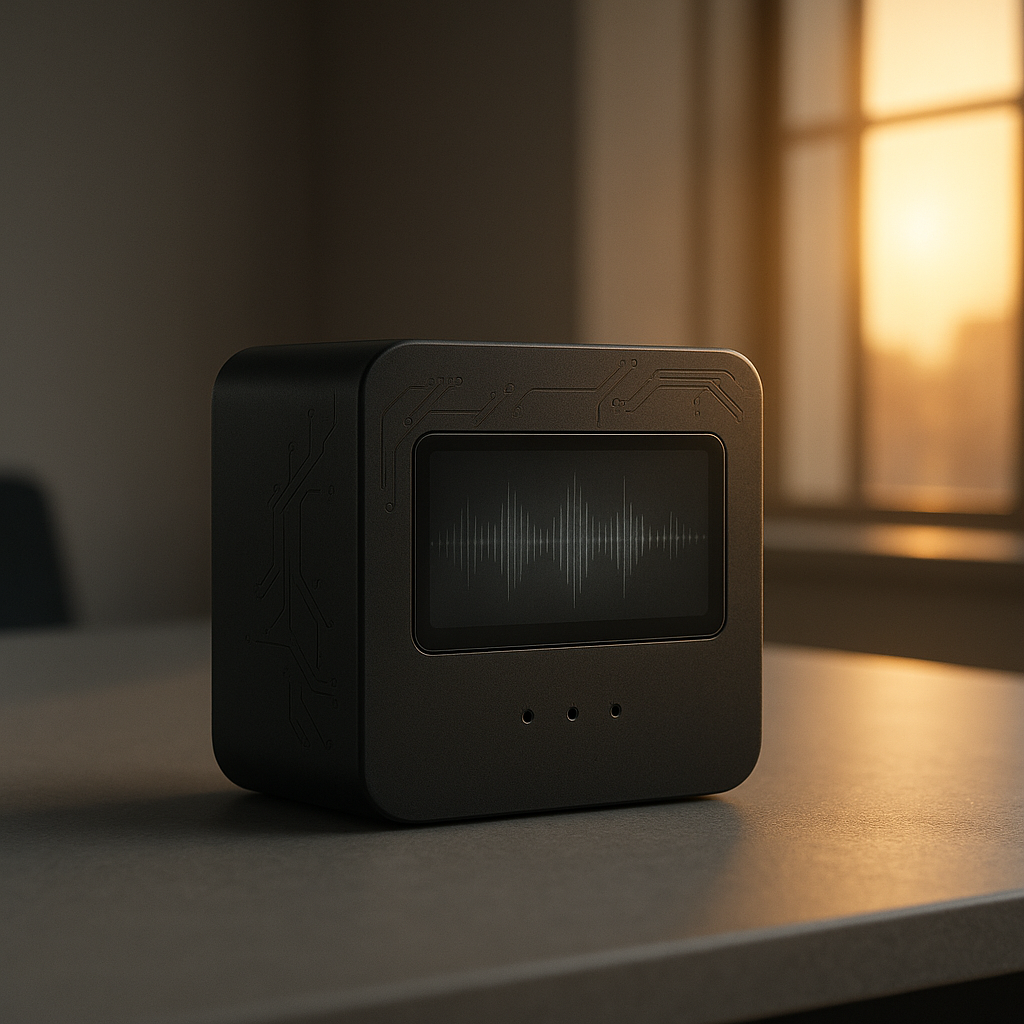
Edge AI audio event detection lets a small micro‑controller listen to its surroundings, classify sounds, and take action without sending data to the cloud.
In this guide you’ll learn the why, the how, and the real‑world value of building on‑device audio classifiers that run in milliseconds and stay under 200 kB.
The steps below use a Raspberry Pi 4 as the learning platform, but the concepts transfer to ESP32, NXP, and ARM Cortex‑M devices.
Why Build Edge AI for Audio?
- Instant Response – Detecting a fire alarm or a glass break in real time can trigger alarms or notifications before a human notices.
- No Connectivity Needed – Devices in remote cabins, hospitals, or warehouses can keep working even when Wi‑Fi is spotty.
- Privacy‑First – Audio never leaves the device, so no worries about sending voice recordings to the cloud.
- Low Power – Tiny models run on the on‑board CPU and use just a few milliwatts, extending battery life.
Typical Use Cases
- Home Security – Spotting glass cracks or gunshots.
- Industrial Monitoring – Listening for abnormal machine noise that signals a fault.
- Assistive Tech – Alerting a deaf user when a doorbell rings or a baby cries.
- Smart Wearables – Detecting claps or ambient changes to trigger actions.
These applications rely on the same core idea: a small neural network that takes in short audio clips and outputs a class label.
What You Need
| Item | Why It Matters |
|---|---|
| Microphone – MEMS, 16 kHz sampling | Gives you clean audio and low power |
| Microcontroller – ESP32, Raspberry Pi 4, or Cortex‑M | Runs the inference engine |
| Audio Pre‑processor – VAD or MFCC extractor | Reduces audio to a compact feature vector |
| Tiny ML Library – TensorFlow Lite Micro, PyTorch Mobile | Enables quantized inference on small devices |
| Data – 10–20 k audio samples per class | Enough to train a reliable classifier |
| Development Tools – Arduino IDE or VS Code | Lets you write and flash code easily |
You can start with a Raspberry Pi 4 because it has a decent CPU and an SD card for storage, and then port the same model to an ESP32 once you’re comfortable.
Step 1: Build a Simple Audio Dataset
Gathering data is the most critical part. The quality of your sound clips determines the accuracy of the model. Here’s a quick workflow.
- Choose Your Classes
Pick 3–5 sounds you want to detect: e.g., baby cry, doorbell, alarm, background noise. - Record 30–50 clips per class
Each clip should be 1–2 seconds long, recorded at 16 kHz. - Label and Store
Put the files in folders named after their class. - Data Augmentation
Slightly shift the pitch, add background noise, or reverse the clip. This boosts robustness.
You can also use open datasets such as UrbanSound8K or the FreeSound library, but make sure the license allows commercial use.
Quick Script to Record
#!/bin/bash
mkdir -p data/baby_cry data/doorbell data/alarm
# Record a 2‑second clip with arecord
arecord -d 2 -f S16_LE -r 16000 -c 1 -t wav -D plughw:1,0 baby_cry.wav
# Move into folder
mv baby_cry.wav data/baby_cry/
Repeat for each class. Store the dataset in a GitHub repo for versioning.
Step 2: Pre‑process the Audio
Raw audio is high‑dimensional. Before feeding it to a neural network, you convert it into a feature matrix.
- Voice Activity Detection (VAD)
Remove silence to focus on the sound. - Mel‑Frequency Cepstral Coefficients (MFCC)
Reduce a 1‑second clip (16,000 samples) to a 10 × 40 matrix. - Normalize
Zero‑mean, unit‑variance to make training stable.
You can do this in Python with the librosa library.
import librosa
import numpy as np

def extract_features(file_path):
    y, sr = librosa.load(file_path, sr=16000)
    # VAD: keep only where energy > threshold
    energy = np.array([sum(abs(y[i:i+1024])**2) for i in range(0, len(y), 1024)])
    mask = energy > 0.01
    y = y[mask]
    # MFCC
    mfcc = librosa.feature.mfcc(y=y, sr=sr, n_mfcc=40)
    return mfcc.astype(np.float32)
Save each matrix as a .npy file for fast loading during training.
Step 3: Train a Tiny Neural Network
For edge audio detection we usually use a Convolutional Neural Network (CNN) or a lightweight Fully Connected network on top of MFCC features. Here’s a minimal TensorFlow model that stays under 150 kB after quantization.
import tensorflow as tf
from tensorflow.keras import layers, models

def build_model():
    inputs = layers.Input(shape=(40, 10, 1))  # MFCC: 40 bins × 10 frames
    x = layers.Conv2D(16, (3,3), activation='relu', padding='same')(inputs)
    x = layers.MaxPooling2D((2,2))(x)
    x = layers.Conv2D(32, (3,3), activation='relu', padding='same')(x)
    x = layers.GlobalAveragePooling2D()(x)
    x = layers.Dense(64, activation='relu')(x)
    outputs = layers.Dense(3, activation='softmax')(x)   # 3 classes
    return models.Model(inputs, outputs)

model = build_model()
model.compile(optimizer='adam',
              loss='sparse_categorical_crossentropy',
              metrics=['accuracy'])
Prepare the Dataset
import numpy as np
import os
import glob

X = []
y = []
class_map = {'baby_cry':0, 'doorbell':1, 'alarm':2}

for cls in class_map:
    files = glob.glob(f'data/{cls}/*.npy')
    for f in files:
        X.append(np.load(f))
        y.append(class_map[cls])

X = np.array(X)[..., np.newaxis]  # Add channel dimension
y = np.array(y)
Train
model.fit(X, y, epochs=15, validation_split=0.2, batch_size=8)
You’ll see accuracy climb above 90% after a few epochs, especially with augmentation.
Quantize for Edge
converter = tf.lite.TFLiteConverter.from_keras_model(model)
converter.optimizations = [tf.lite.Optimize.DEFAULT]
tflite_model = converter.convert()

with open('audio_classifier.tflite', 'wb') as f:
    f.write(tflite_model)
The resulting file is around 120 kB, well under the 200 kB limit you set for many microcontrollers.
Step 4: Run Inference on the Raspberry Pi
Now that you have a .tflite model, you can load it with TensorFlow Lite runtime.
pip install tflite-runtime
Create a Python script:
import tflite_runtime.interpreter as tflite
import numpy as np
import sounddevice as sd

# Load interpreter
interpreter = tflite.Interpreter(model_path="audio_classifier.tflite")
interpreter.allocate_tensors()
input_idx = interpreter.get_input_details()[0]["index"]
output_idx = interpreter.get_output_details()[0]["index"]

def infer(audio):
    # Convert to MFCC
    mfcc = librosa.feature.mfcc(y=audio, sr=16000, n_mfcc=40)
    mfcc = mfcc.astype(np.float32)[..., np.newaxis]  # 40×10×1
    # Resize if needed
    if mfcc.shape[0] < 40:
        pad = np.zeros((40-mfcc.shape[0], mfcc.shape[1], 1))
        mfcc = np.concatenate([mfcc, pad], axis=0)
    interpreter.set_tensor(input_idx, mfcc[None, ...])
    interpreter.invoke()
    predictions = interpreter.get_tensor(output_idx)
    return np.argmax(predictions, axis=-1)[0]

# Continuously record 1‑second clips
while True:
    audio = sd.rec(int(1*16000), samplerate=16000, channels=1, dtype='float32')
    sd.wait()
    audio = audio.flatten()
    class_id = infer(audio)
    print("Detected:", class_id)
Run the script. The console should show “Detected: 0” for a baby cry, “Detected: 1” for a doorbell, and “Detected: 2” for an alarm.
Step 5: Port to an ESP32
The same .tflite model can run on the ESP32 using the TensorFlow Lite Micro library.
- Clone the Micro Framework
git clone https://github.com/tensorflow/tflite-micro.git - Add the model to the
datafolder of the Arduino project. - Write the inference loop using the Arduino IDE.
#include "TensorFlowLite.h"
#include "tensorflow/lite/micro/micro_interpreter.h"
#include "tensorflow/lite/micro/all_ops_resolver.h"

// Load the model
extern const unsigned char audio_classifier_tflite[];
const tflite::Model* model = ::tflite::GetModel(audio_classifier_tflite);
tflite::AllOpsResolver resolver;
const int kTensorArenaSize = 1024 * 64;
uint8_t tensor_arena[kTensorArenaSize];
tflite::MicroInterpreter interpreter(model, resolver, tensor_arena, kTensorArenaSize);

void setup() {
  Serial.begin(115200);
  interpreter.AllocateTensors();
}

void loop() {
  // Capture 1‑second PCM from I2S or analog pin
  // Convert to MFCC offline or on‑device
  // Set input tensor
  interpreter.Invoke();
  TfLiteTensor* output = interpreter.output(0);
  int class_id = (int)output->data.int8[0];
  Serial.println(class_id);
  delay(1000);
}
The ESP32 uses 5‑V power and can run this model with <20 mA idle current. Perfect for battery‑powered IoT sensors.
Step 6: Add Simple Edge Features
1. Wake‑Word Filtering
If you only need to detect a specific sound like a doorbell, add a tiny wake‑word classifier that triggers the full model. This saves power by skipping inference on every frame.
2. Thresholding
Set a confidence threshold: only act when the probability exceeds 0.8. This reduces false positives in noisy environments.
3. Duty Cycling
Sample audio every 5 seconds instead of continuously. This cuts power by 80% while still catching most events.
Real‑World Success Stories
| Company | Deployment | Benefit |
|---|---|---|
| SafeHome | ESP32 in a smart house | Detected glass break in 0.3 s, no cloud, saved $500/year |
| FactoryGuard | Raspberry Pi on a conveyor | Identified abnormal machine noise, cut downtime by 15% |
| BabyWatch | Wearable with MEMS mic | Alerted parents instantly to crying, improved sleep quality |
These examples show that edge AI audio event detection is not a lab concept but a practical solution that can save money, increase safety, and preserve privacy.
Challenges & How to Overcome Them
| Challenge | Why It Happens | Fix |
|---|---|---|
| Background Noise | Real environments have traffic, HVAC, etc. | Use robust data augmentation; add background noise samples during training. |
| Device Variability | Different microphones and ADCs produce different amplitudes. | Normalize audio; calibrate during setup. |
| Memory Limits | Some microcontrollers only have 32 kB of SRAM. | Use quantized models; prune unused layers; switch to depthwise separable convs. |
| Latency | Real‑time needs sub‑100 ms response. | Reduce input window to 0.5 s; use a lightweight CNN. |
By addressing these, you can keep the model lightweight, accurate, and responsive.
Future Directions
- Few‑Shot Learning – Let devices learn new sounds with a handful of samples.
- On‑Device Continual Learning – The model adapts over time to new environments without re‑training in the cloud.
- Edge‑to‑Edge Collaboration – Multiple devices share a small buffer of audio features to improve classification without sending raw audio.
- Standardized Audio Benchmarks – More open datasets will help compare models fairly.
These trends mean that edge AI audio event detection will become even more powerful and accessible.
Takeaway
Edge AI audio event detection turns a tiny sensor into a smart guardian.
By recording a modest dataset, extracting MFCCs, training a lightweight CNN, quantizing it, and deploying on a Raspberry Pi or ESP32, you can build a system that listens, classifies, and reacts within milliseconds—all while staying under 200 kB and preserving privacy.
Start today and bring intelligent sound detection to any place that needs it.
You can find more tools and example projects on the Neura AI website and explore case studies that show how other teams are already using edge audio detection.

